link me!
CT!


Selling at!



Stormlight on FB

oh, the places you'll go!









my PSP homes




Showing posts with label MistyLynn Creations. Show all posts
Showing posts with label MistyLynn Creations. Show all posts
Monday, November 24, 2025

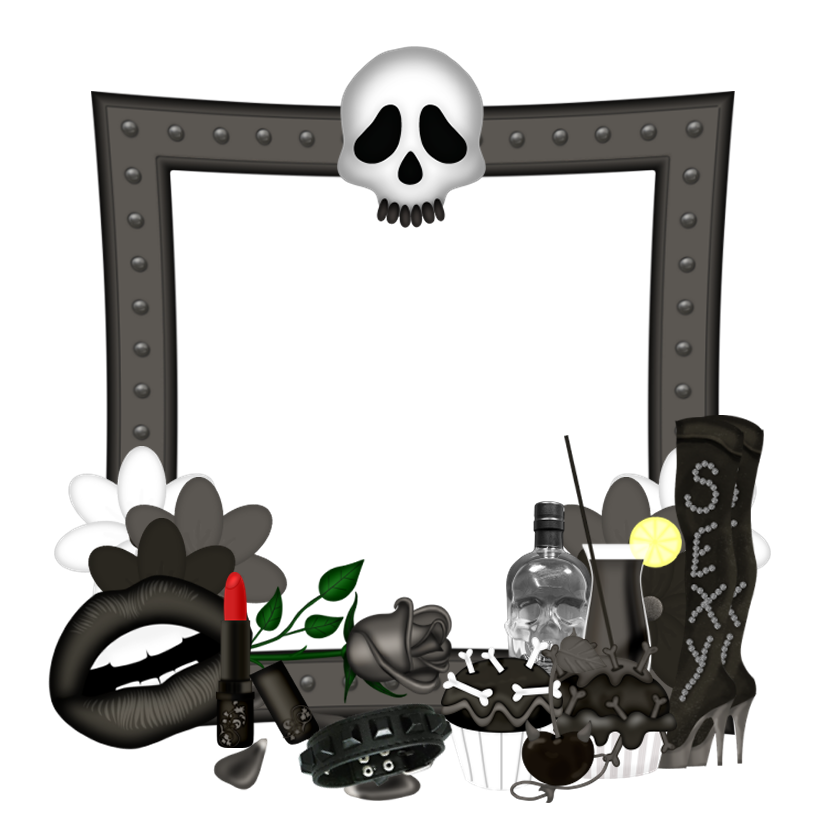
If you love black and white kits, MistyLynn's classic kit Kelly is for you. The kit comes with 10 papers and 50 elements, including clothing, skulls, disco balls and more! you can purchase this kit here.
right click to save the clusters below!

Wednesday, June 4, 2014
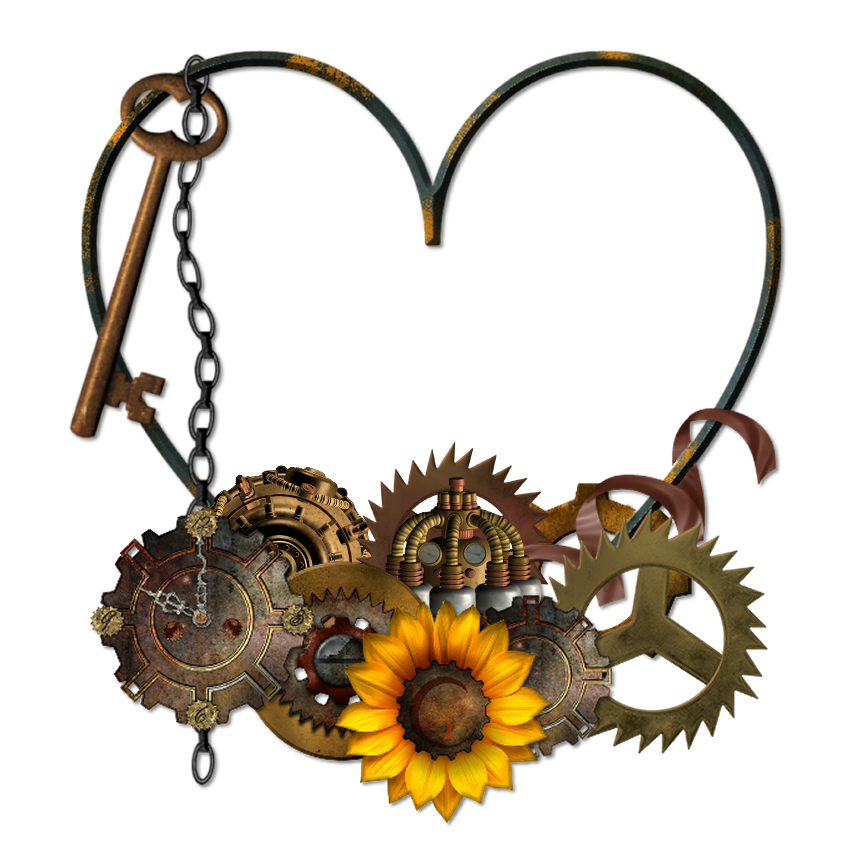
for my loyal cluster collectors, I have a new one for you today! all you steampunk lovers will adore this one--MistyLynn's "Steamered" kit comes with several beautiful papers in varying colors and a wealth of awesome elements to work with, including gears, flowers, machinery and even a couple poser tubes. this kit has been retired.
and right click on the cluster above to download it.
Monday, March 31, 2014

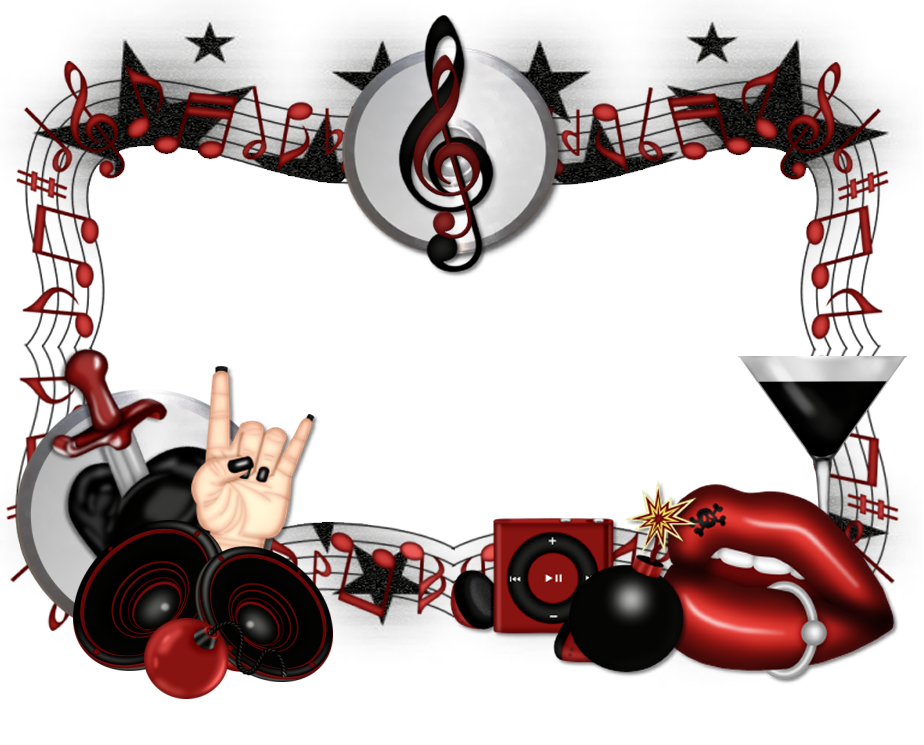
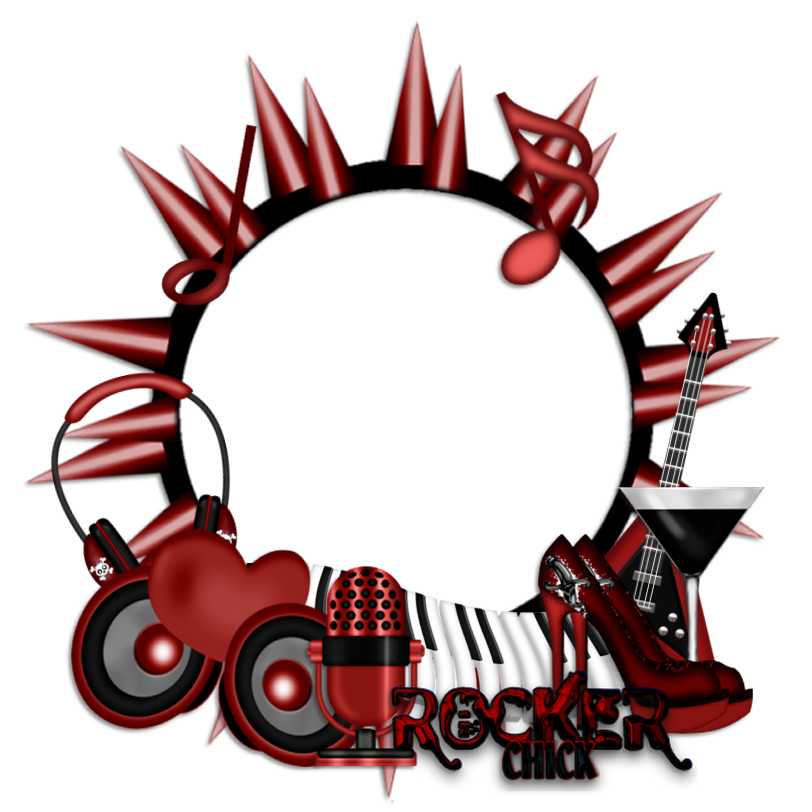
I'm in a rock mood again, so I have a new set of clusters for you. These were made
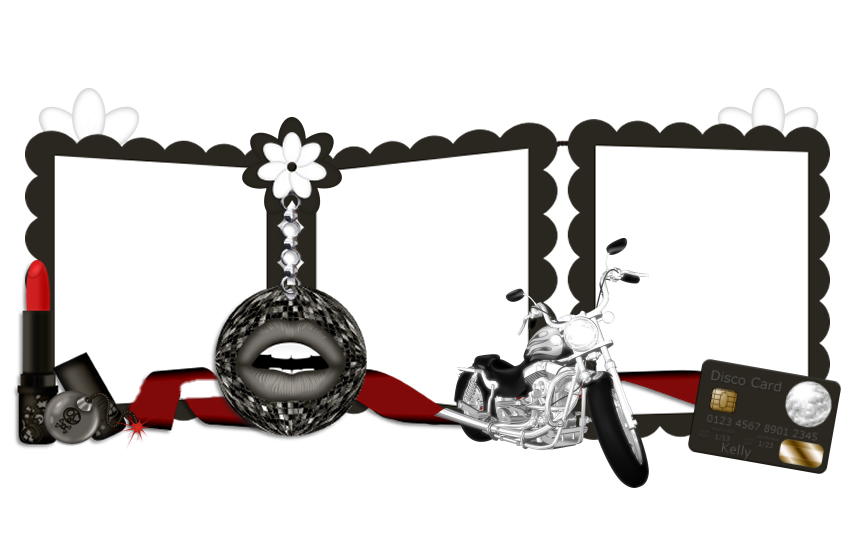
from MistyLynn's "Rebel Rider" kit and you can purchase this kit
here.
right click the clusters below to save!
Friday, March 21, 2014

Get your Easter tags going with this new pair of clusters. They were made from MistyLynn's "Easter Goodies" kit and you can purchase this kit here.
Right click to save the clusters below!
Sunday, March 16, 2014
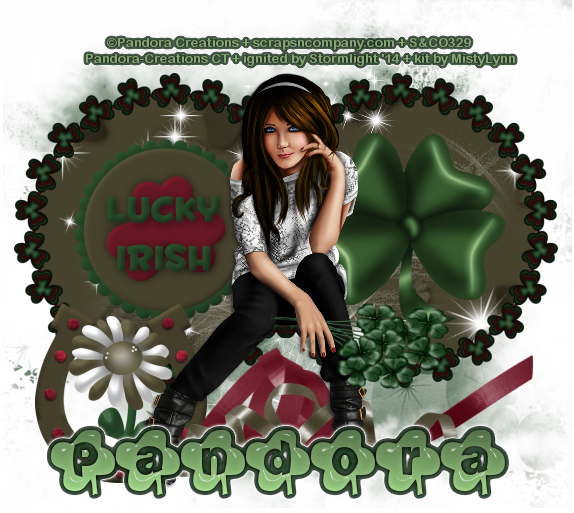
NOTE: you MAY link to this tut. you MAY print it out for later use offline. you MAY NOT claim it as yours or take anything else from it. this tutorial is ©Ruby/Stormlight, written March 16, 2014.
Supplies needed:
-- PSP
-- main tube of choice (I am using Helen by the phenomenal Pandora. You can find her for purchase at S&CO.)
-- scrap kit of choice. (I am using "Lucky Clover" by MistyLynn. you can also purchase this kit here.) -- the plugin EyeCandy 4000 (Glass and Gradient Glow).
-- Jazzy's "basic" drop shadow setting of 2, 2, 50, 3 and color dark green or black.
-- mask of choice. I used a mask from a Creative Misfits collection. hop over to their blog to get tons of great ones.
-- font of choice. I used Lucky.
1. Open a new canvas 600x600.
2. Choose a patterned paper from your scrap kit (if using the same kit I am, I chose paper06). Paste it into your canvas.
3. Choose a frame from your kit (if using the same kit, the frame I chose is element37). Paste into your canvas. Resize 55% smart size, duplicate and mirror the copy. Merge the frames together.
4. Click outside the frames layer with your magic wand. Go to selections > modify > expand > expand by 3. Hit your delete key.
5. Copy and paste in your tube. If it is large like mine, you may need to resize it. I resized mine to 45% bicubic. Position so she is sitting/leaning against the frames.
6. Select a solid color paper from your kit (if using the same kit, it is paper08). Paste as the bottom layer.
7. Apply your mask as a new layer to the solid color paper. Merge group in your layer palette.
8. Time for some elements. Numbers apply to the scrap kit I'm using so if you're using a different one, use the elements of your choice. All elements are resized with the smart size setting. Remember to apply Jazzy's basic drop shadow after each element is placed unless otherwise marked:
36 (clover) - 50% - place inside one of the frame circles
27 ("Lucky Irish" button) - 50% - place inside other frame circle
59 (horseshoe) - 50%
17 (flower) - 40%
60 (clover bouquet) - 45% [optional: if your chosen tube has an open hand, you can position this element and then use your freehand selection tool to make it look like the bouquet is being "held".]
48 and 49 (ribbons) - 70%. place at tube's feet.
70 (sparkle burst) - place inside frames. NO drop shadow.
9. Create a new raster layer for your name. Type your name and position it to your liking. In your plugins menu, go to EyeCandy 4000 > Glass and use the following settings:

10. Next, go to EyeCandy 4000 > Gradient Glow and use the following settings:

11. Create a new layer for your copyright/watermark and add it on.
Thursday, March 6, 2014

got a new cluster frame for you tonight. this one was made from MistyLynn's phenomenal "Blue Rocker" kit....perfect for all those rock n roll tags. You can purchase this kit here.
and you can come grab my cluster below! Right click to save to your device.

Monday, March 3, 2014

Happy March! I've got a new pair of clusters for you today. These were made from MistyLynn's fun scrap kit "Sexy Officer", which has been retired.
Right click on each cluster below to save it!
Monday, February 17, 2014

Looking for something to jazz up that birthday tag design you have in mind? How about this fun pair of clusters from MistyLynn's "It's a Birthday" kit? the kit comes with tons of great elements, including balloons (separate and bunched), two birthday cakes (one with candles, one without), separate candles for the cake without them, and many more! you can purchase this kit here.
right click to save the clusters below!

Monday, February 10, 2014

This morning, I have a new pair of clusters for you. These were made from MistyLynn's great scrap kit called "New Valentine. This kit is retired.
Right click to save the clusters below!
Sunday, February 9, 2014
I always love to see what people make with my designs. a few weeks ago, the moderators at the Creative Cafe forum used my Skull Candy cluster (made from MistyLynn's Black Skullz kit) in their weekly frame challenge. And there were some awesome results. Below the cut is just a few examples.
thank you, ALL, for playing with my frame. I loved ALL the results and my gifts :)
Sunday, February 2, 2014

Sunday, January 19, 2014

Saturday, January 18, 2014

NOTE: you MAY
link to this tut. you MAY print it out for later use offline. you MAY NOT claim
it as yours or take anything else from it. this tutorial is ©Ruby/Stormlight,
written January 17, 2014.
Supplies needed:
-- PSP
-- main tube of choice (I used Charlotte by Pandora. You can purchase her at Pics for Design.)
-- scrap kit "Valentine Time" by MistyLynn. you can also purchase this kit at PFD also.
-- the plugins
Crescent Moon and Visman.
-- Jazzy's "basic" drop shadow setting of 2, 2, 50, 3 and color black.
-- template of choice. I used a great template by Pooker.
-- font of choice.
-- Jazzy's "basic" drop shadow setting of 2, 2, 50, 3 and color black.
-- template of choice. I used a great template by Pooker.
-- font of choice.
Sunday, January 12, 2014

here's a new cluster frame for you! this one was made from MistyLynn's awesome "Sexy in Blue" kit. you can purchase this kit here.
right click to grab the cluster below!
Tuesday, January 7, 2014
Wednesday, January 1, 2014

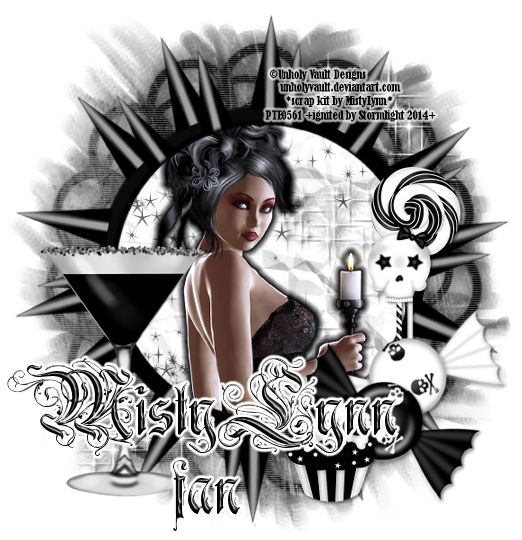
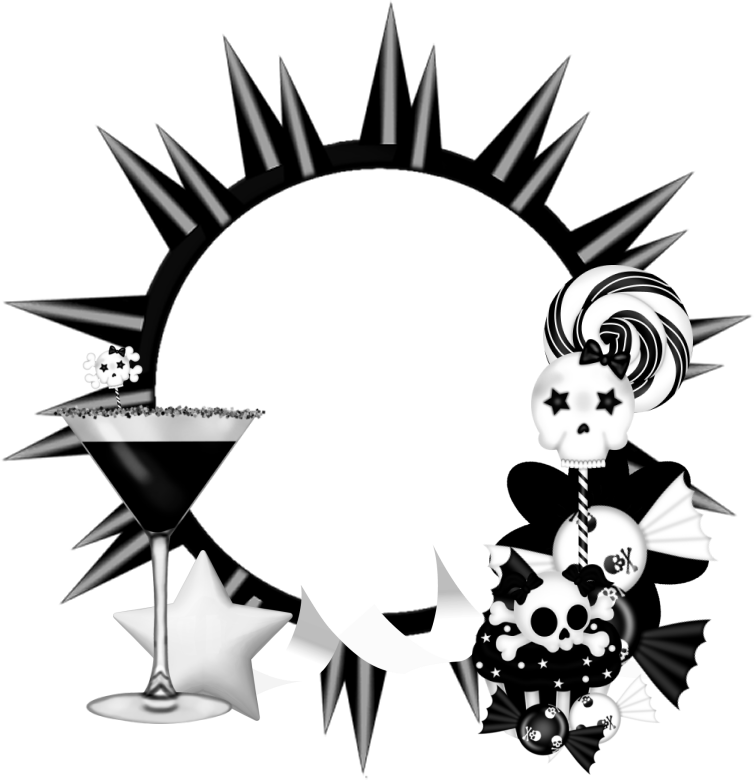
tonight, I have a great new cluster frame for you, made from MistyLynn's awesome kit "Black Skullz"! you can purchase that kit here.
right click to save the cluster below!
Monday, December 16, 2013
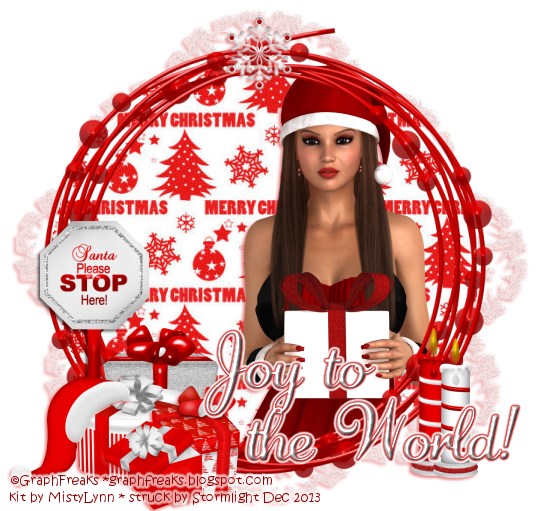

Christmas is coming! and you want to make sure Santa doesn't skip your house, so come grab this new cluster made with MistyLynn's great kit "It's Christmas"! you can purchase this kit here.
Right click on the cluster below to save it!

Friday, November 29, 2013
Thursday, November 28, 2013

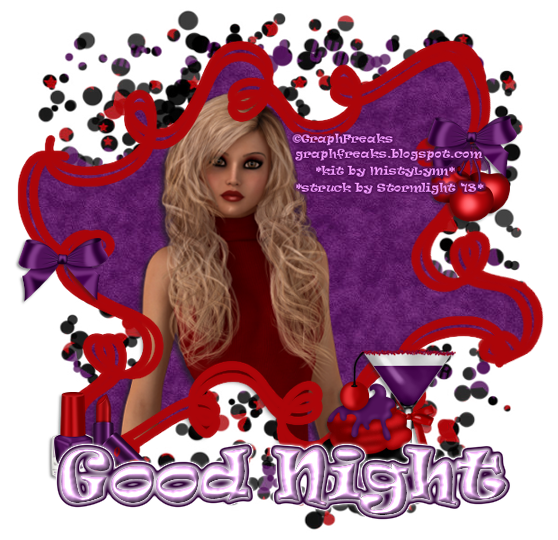
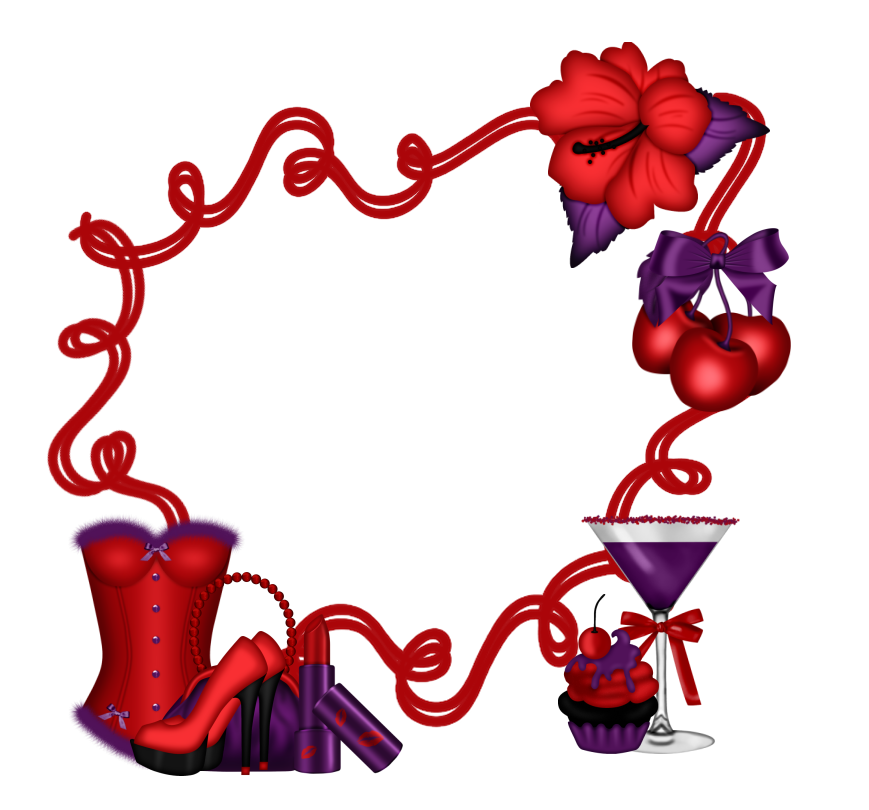
Happy Thanksgiving to my fellow Americans! today, I have a nice new pair of cluster frames for you. these were made with MistyLynn's gorgeous kit called Amelia. you can purchase this kit here.
Right click to save the clusters below!
Subscribe to:
Posts
(Atom)
CU licenses