link me!

CT!


Selling at!


Stormlight on FB
oh, the places you'll go!


my PSP homes


Wednesday, December 31, 2014

NOTE: you MAY link to this tut. you MAY print it out for later use offline. you MAY NOT claim it as yours or take anything else from it. this tutorial is ©Ruby/Stormlight, written December 30, 2014.
Supplies needed:
-- PSP
-- main tube of choice. I used Pandora's Francesca.
-- scrap kit of choice (I used the kit Red 2015 by Bibi's Collection.)
-- template of choice. I'm using FB template #9 by Millie. Check out her blog for many great templates, both FB and regular.
-- the plugin Eye Candy Gradient Glow. -- Jazzy's "basic" drop shadow setting of 2, 2, 50, 3 and color black.
-- alpha or font of choice. I am using a Designz by Sue alpha called Beauty.
Tuesday, December 30, 2014

Christmas may be over, but there's still plenty of winter time left. With that in mind, here is a new snag set featuring an older tube of Di Halim's named Cecile and paired with a beautiful wintry scrap kit by Tammy's Welt called First Snow. Cecile is a multi-layered tube with several different clothing and hair options. Tammy's kit is absolutely gorgeous and has everything you need for wintry tag designs.
You can get Cecile here and the kit here. (Both are on sale during S&CO's after Christmas sale, too!)
and grab my set of ten snags here!
Monday, December 15, 2014

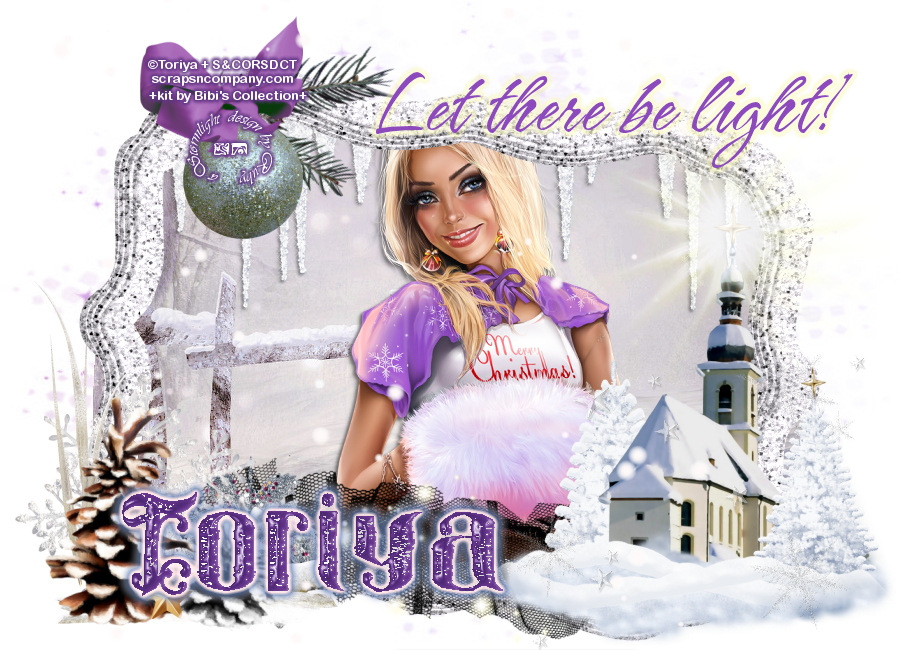
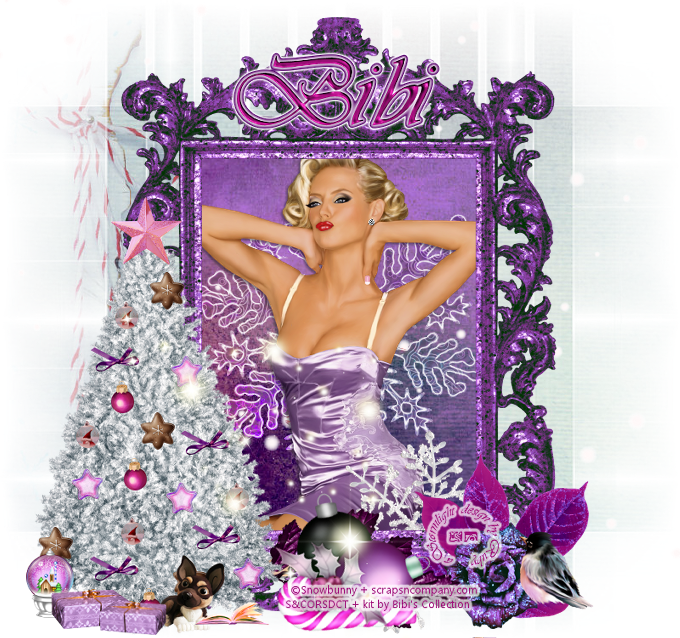
a bit of exciting news--I will now be occasionally making PTU clusters for Bibi's Collection over at S&CO. this is my first set using Bibi's absolutely lovely Christmas kit called "Linda Navidad". it is made to match Linda by Toriya and has a beautiful color palette, as well as a great variety of elements. you can purchase these clusters here.
[for my cluster collectors, do not worry--I will still continue to offer FTU clusters a-plenty to use :) this is just a fun new venture for me.]
below are example tags showing off my clusters, as well as use of the kit:
Saturday, December 13, 2014
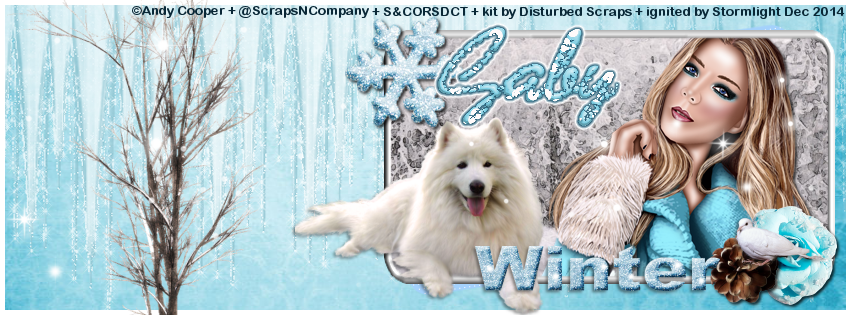
NOTE: you MAY link to this tut. you MAY print it out for later use offline. you MAY NOT claim it as yours or take anything else from it. this tutorial is ©Ruby/Stormlight, written December 12, 2014.
Supplies needed:
-- PSP
-- main tube of choice. I used Andy Cooper's Sweater Blue, which you can purchase here.
-- scrap kit of choice (I used the made-to-match kit "First Snow" by Disturbed Scraps. you can purchase it here.)
-- template of choice. I am using Timeline template #8 by Millie. You can visit her blog for lots of great templates of all sorts.
-- alpha or font of choice. I used the alpha that came with the kit.
Subscribe to:
Posts
(Atom)
CU licenses


