link me!

CT!


Selling at!


Stormlight on FB
oh, the places you'll go!


my PSP homes


Saturday, May 13, 2023
NOTE: you MAY link to this tut. you MAY print it out for later use offline. you MAY NOT claim it as yours or take anything else from it. this tutorial is ©Ruby/Stormlight, written May 13, 2023.
Supplies needed:
-- PSP, any version
-- main tube of choice. I am using artwork by Abranda Icle Flaminio, purchased under license. You can purchase Abranda's tubes HERE.
-- scrap kit of choice. I am using the kit Beauty by AngelWing Scraps. you can find her kits HERE.
-- template of choice. I am using a template by Melissaz Creationz.
-- mask of choice. I am using one by Simone, you can get those masks at her blog HERE.
-- Jazzy's basic drop shadow setting of 2, 2, 50, 3 and color black.
-- the plugins Visman Stardust and EyeCandy's Bevel Boss, Glass and Gradient Glow.
-- font of choice. I am using Esteh.
-- mask of choice. I am using one by Simone, you can get those masks at her blog HERE.
-- Jazzy's basic drop shadow setting of 2, 2, 50, 3 and color black.
-- the plugins Visman Stardust and EyeCandy's Bevel Boss, Glass and Gradient Glow.
-- font of choice. I am using Esteh.
1. Open your template, duplicate and close the original file. Save the copy as your canvas, delete the copyright layer and, if needed, expand your canvas or resize.
2. Open your tube. Paste into your canvas, resize if necessary and apply drop shadow. On the layers palette, drop your tube to just below the center frame layer. Return to your frame layer, click outside it with the magic wand.
3. Go to selections > modify > expand enough to have the marching ants in the middle of the frame layer (I chose 2 because my template's frame is thin). Return to tube layer and hit the delete key.
4. Open at least five papers of choice from your kit. Click on the bottom most square of the template. Select all > float > defloat > invert, then paste in your first paper and hit the delete key. Repeat this step with layers of your choice (I chose the larger rectangles only).
5. Select the template layer right below your tube. Go to adjust > color balance > manual color correction and change the layer to a color from your tube. Apply 25% noise (uniform, monochrome checked). In your plugins menu, go to VM Natural > Stardust and use the following settings:

6. Using manual color correction, change the dot lines layer to a color from your tube.
7. On the long rectangles layer, apply the Stardust setting from step 5, then go to your effects menu and choose Blinds with these settings: width 15, opacity 28, color white.
8. Change all other frame layers to contrasting colors from your tube. In plugins menu, go to EyeCandy > Bevel Boss and use the Inner Bevel preset. optional - under the lighting tab, change shadow color to a color from your tube.
9. Now let's add some elements. NOTE: Numbers/names apply to the scrap kit I'm using so if you're using a different one, use the elements of your choice. All elements are resized with the smart size setting. Any directions for placement of elements are optional - you can follow my placements or place where preferred. Remember to apply basic drop shadow after each element is placed unless otherwise marked:
20 (leaves) - 30%, right hand side.
9, 13, 14, 17, 18, 19 (flowers) - 25-65%. duplicate these layers at least two times each and arrange as preferred. Merge layers next to one another before applying drop shadow.
21, 23 (thin flowers) - 30-55%.
45 (ribbon) - 65%. center and drop below all other element layers.
39 (flower button) - 25%. place on ribbon.
35 (metal leaf) - 25% rotate 90 degrees left, place on top left.
25 (butterfly) - 20%, place on metal leaf. optional - rotate 10-15 degrees right.
10. Create a new raster layer. Type your name and place it to your liking. In plugins menu, go to EyeCandy > Glass and apply the Surface Flaws preset with the following changes:
-- change gradient shading to 28
-- change opacity to 72
-- change glass color to the color of your text
-- under bevel profile, change to the hump preset
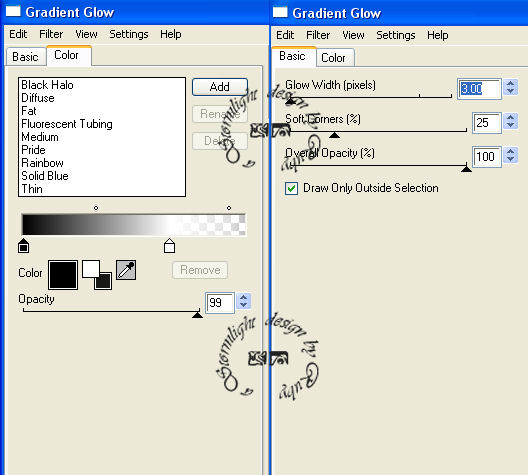
11. Go to EyeCandy > Gradient Glow and apply the following settings:
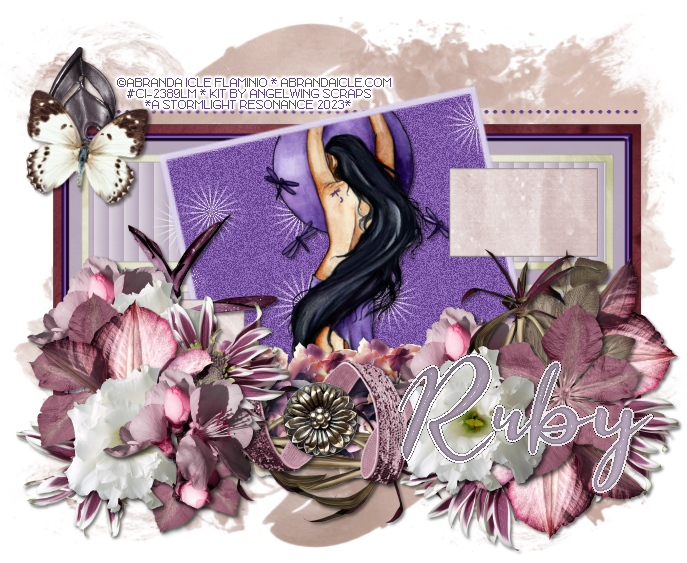
12. Create one final new raster layer to apply copyright/credit and your watermark.

Subscribe to:
Post Comments
(Atom)
CU licenses


0 comments:
Post a Comment