link me!

CT!


Selling at!


Stormlight on FB
oh, the places you'll go!


my PSP homes


Saturday, August 12, 2017
NOTE: you MAY link to this tut. you MAY print it out for later use offline. you MAY NOT claim it as yours or take anything else from it. this tutorial is ©Ruby/Stormlight, written August 9, 2017.
Supplies needed:
-- PSP
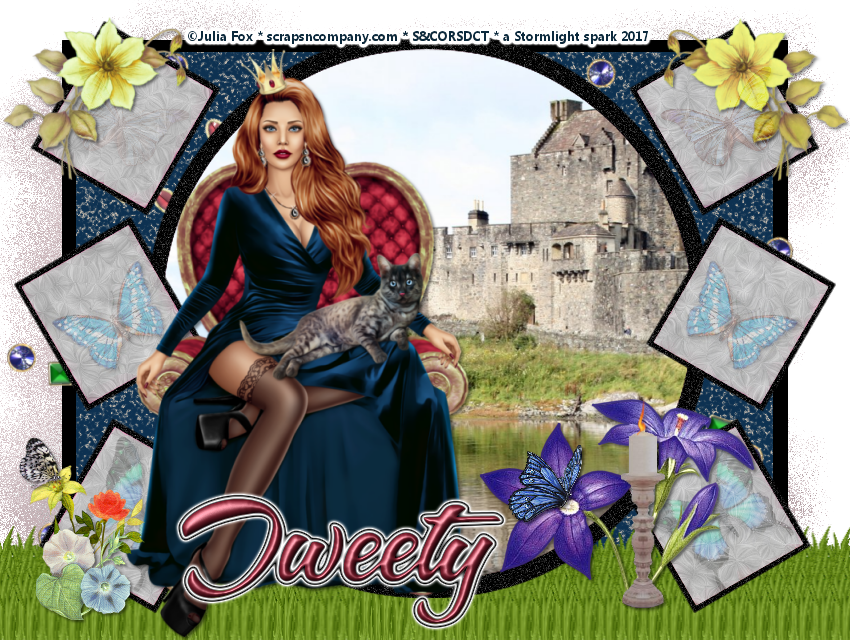
-- main tube of choice. I am using Kristel 4 by Julia Fox. You can purchase her at S&CO.
-- template of choice. I am using a template from Punky.
-- stock photo of choice that is related to your tube. I am using a stock photo of a castle from Stock.xchng.
-- royalty free tubes of choice (suggested tubes - at least 2 flowers, 1 candle tube, 2-4 butterfly tubes and at least 1 accent tube).
-- mask of choice. I am using a mask by Kris.
-- the plugins Eye Candy Swirl, Marble, Gradient Glow and Mura Meister Copies.
-- font of choice. I am using A&S Snapper.
1. Open your template, duplicate and close the original. Save copy as your new canvas. Delete any creator/copyright layer. Also delete any word art layer unless the word art is related to your tube.
2. Paste your stock photo onto your canvas as a new layer. Resize and position as needed. Select the background circle layer. Select all > float > defloat > invert, then return to your stock photo and hit delete key.
3. Paste in your tube. Resize as needed and apply drop shadow. Place just to the left of center circle so your stock photo is visible.
4. Select background rectangle layer. Select all > float > defloat. Choose a color from your tube and floodfill rectangle. DO NOT DESELECT YET.
5. In your plugins menu, go to Eye Candy > Marble. Select the Tiny Veins preset, but change bedrock color to the same color as your floodfill, and vein color to an opposing color out of your background photo. [optional - lower vein coverage to below 40%]
6. Repeat step 4 on the side square sets, using a different color.
7. In your plugins menu, go to Eye Candy > Swirl. Use the Wispy preset on each set of squares. Make sure that each set of squares is selected and float/defloated first to keep your square edges intact!
8. Paste in your accent tubes. Resize as needed, apply drop shadow to each and place where preferred. [optional - use Mura Meister Copies plugin on tubes of choice]
9. Create a background layer and floodfill with a light color from your stock photo. Apply mask and merge group.
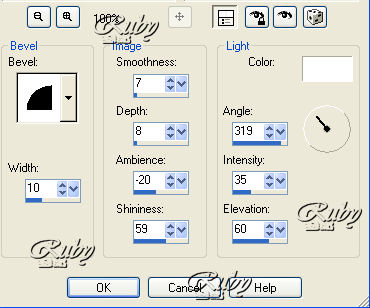
10. Create a new raster layer for your name. Type your name and position to your liking. In your effects menu, go to Inner Bevel and apply the following settings:
11. In plugins menu, go to Gradient Glow and apply the following settings:

12. Create a new layer for your copyright/watermark and add it on.
Subscribe to:
Post Comments
(Atom)
CU licenses


0 comments:
Post a Comment